
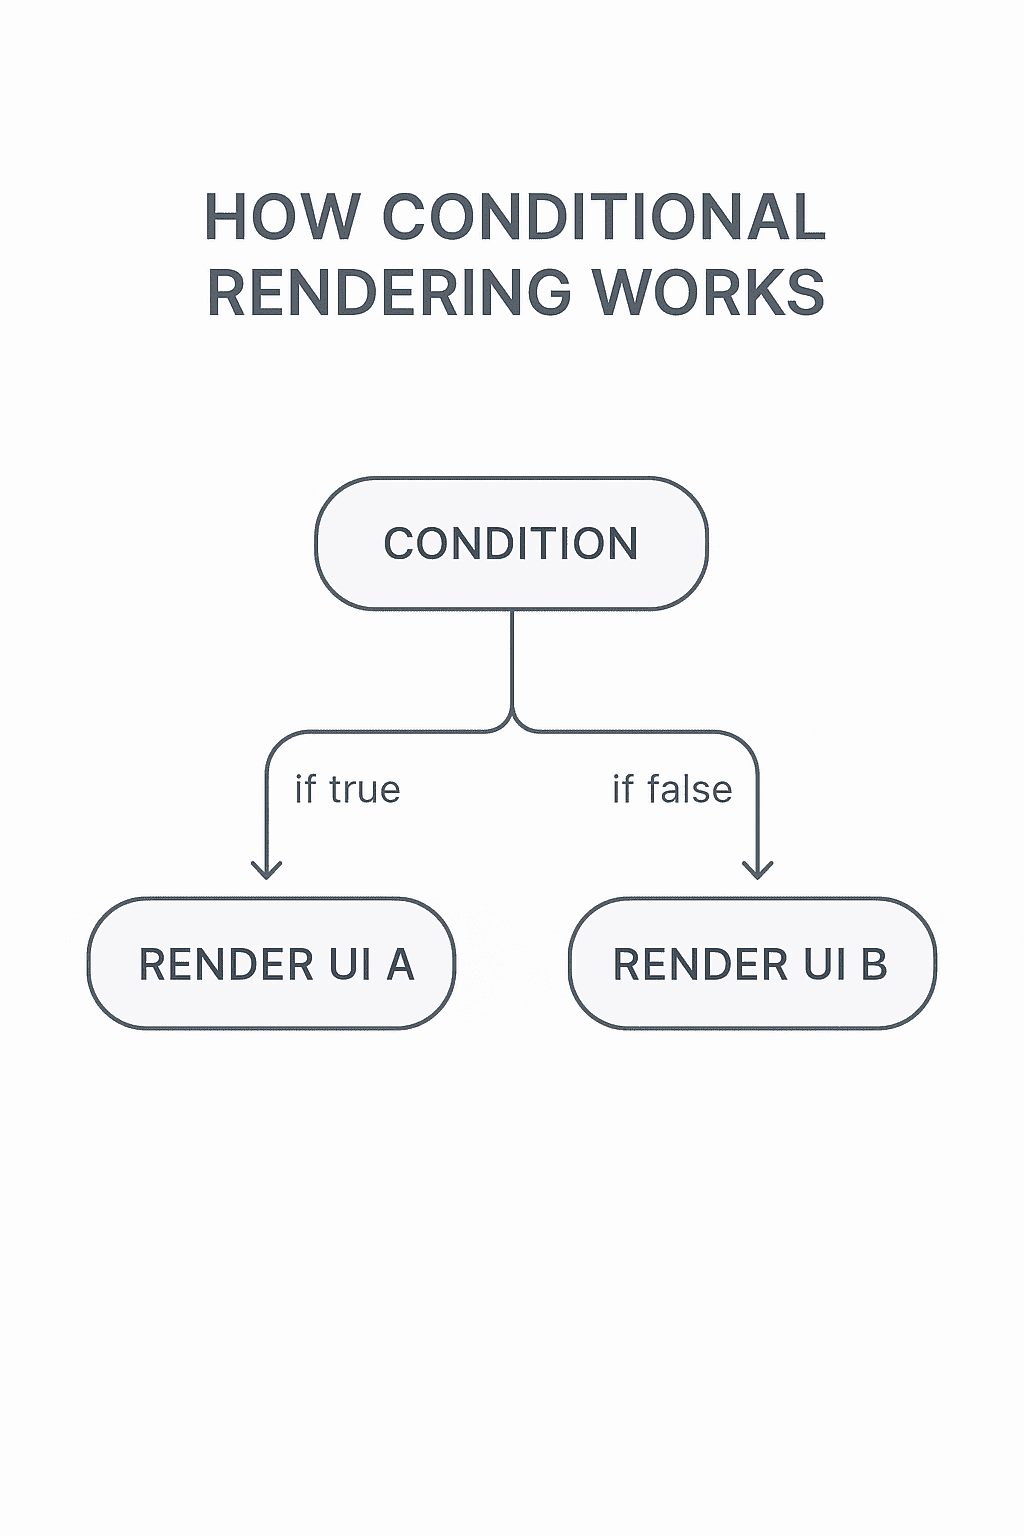
Conditional rendering in React lets you show different UI based on conditions. It’s essential for beginners because it simplifies dynamic screens, reduces confusion, and builds cleaner, more predictable user interfaces.
Beginner apps often rely on conditional UI to show loading states, errors, or user actions. Without proper patterns, code becomes messy with nested conditions, hurting readability and debugging. Learning clean rendering methods helps beginners write structured, scalable, and easy-to-maintain React components.
Key Takeaways of Conditional rendering in react
| Pattern | Best For | Why It Helps Beginners |
|---|---|---|
| Ternary Operator | Simple yes/no UI | Easy, short, and readable for basic conditions |
Logical AND (&&) | Optional UI sections | Great for quick checks without else block |
| Guard Clauses | Avoiding nested conditions | Makes components cleaner and clearer |
| Switch-Case Pattern | Multiple UI states | Better structure than chaining ternaries |
| Enum-Based Conditions | Defined app states | Prevents magic strings and reduces errors |
| Component Extraction | Large conditional blocks | Keeps JSX simple by moving logic out |
| Render Props (optional) | Reusable conditional logic | Useful when patterns repeat across components |
What Is Conditional Rendering in React?
Conditional rendering in React refers to controlling what the user sees based on a condition—similar to how if-else works in regular JavaScript. Instead of always showing the same UI, components decide what to display depending on state, props, or user actions.
Simple UI Examples:
- Show a loading spinner when data is loading, otherwise show the content.
- Display a Login button when a user is logged out, and a Profile button when logged in.
- Hide or show error messages, alerts, or success banners depending on app status.
Why Conditional Rendering Patterns Matter in Beginner Apps
Conditional rendering patterns help beginners write code that’s easier to understand and maintain. Instead of messy nested conditions scattered across components, patterns allow clean, predictable logic.
Clean Code
Good rendering patterns remove clutter from JSX, replace long condition chains, and make UI decisions easier to follow.
Maintainability
Clear patterns help beginners update UI states without breaking existing logic—making the app more scalable as features grow.
User Experience
Smooth UI transitions, correct error handling, and dynamic screen changes all depend on clean conditional logic. Using proper patterns ensures the app responds correctly to user actions.
Popular Conditional Rendering in React Patterns Beginners Should Learn
1. Ternary Operator Pattern
When to use:
Use this pattern when you need a simple either-this-or-that UI decision. It works best for short conditions and small JSX blocks.
Example:
const isLoggedIn = true;

return (
  <div>
    {isLoggedIn ? <h2>Welcome Back!</h2> : <h2>Please Login</h2>}
  </div>
);
Output:
- If
isLoggedIn = true→ Welcome Back! - If
isLoggedIn = false→ Please Login
2. Logical AND Rendering
Best for short checks:
Use this when you only want to render something if a condition is true—no else part required.
Example:
const hasError = true;

return (
  <div>
    {hasError && <p className="error">Something went wrong!</p>}
  </div>
);
Output:
- Renders the error message only if
hasErroris true.
3. Guard Clause Pattern
Removes nested if-else:
Use guard clauses to exit early and avoid deeply nested conditions inside JSX. This keeps components clean and readable.
Example:
function UserProfile({ user }) {
  if (!user) {
    return <p>Loading user...</p>;
  }

  return <h2>Hello, {user.name}</h2>;
}
Explanation:
Instead of nesting UI logic, the function returns early if the required data isn’t available.
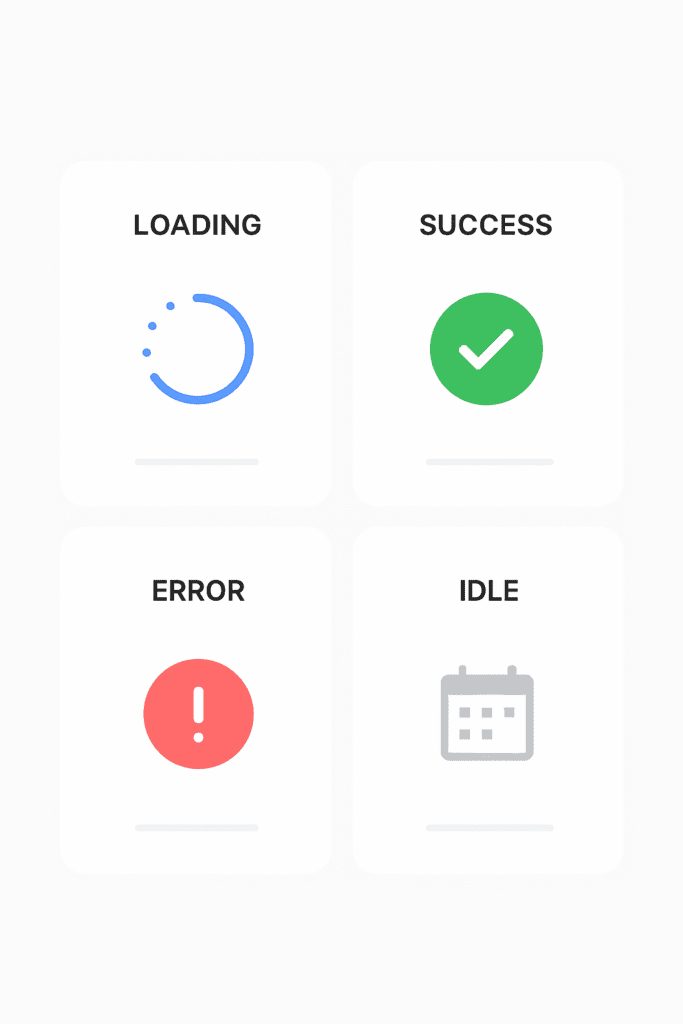
4. Switch-Case Rendering Pattern
Good for multiple UI states:
Use this when your UI changes based on more than two states (loading, success, error, empty, etc.).
Example:
function StatusMessage({ status }) {
  switch (status) {
    case "loading":
      return <p>Loading...</p>;
    case "success":
      return <p>Data Loaded Successfully!</p>;
    case "error":
      return <p>Error fetching data.</p>;
    default:
      return <p>Idle...</p>;
  }
}
Use-case examples:
API states, form submission steps, or home screen modes.
5. Enum-Based Rendering (Beginner-Friendly State Management)
Organizing state into predefined values:
Instead of using strings like "loading" or "error" everywhere, beginners can store all possible states in an enum-like object. This avoids typos and makes state easier to manage.
Example:
const STATUS = {
  LOADING: "loading",
  SUCCESS: "success",
  ERROR: "error",
};

function App() {
  const [status, setStatus] = useState(STATUS.LOADING);

  return (
    <div>
      {status === STATUS.LOADING && <p>Loading...</p>}
      {status === STATUS.SUCCESS && <p>Success!</p>}
      {status === STATUS.ERROR && <p>Error occurred.</p>}
    </div>
  );
}
Why helpful:
Cleaner, safer, and scalable for beginners building apps with multiple screens.
6. Component Extraction Pattern
Replace conditions with smaller components:
If your conditional UI becomes large or repeated, extract it into separate components for clarity.
Example:
function LoadingScreen() {
  return <p>Loading...</p>;
}

function ErrorScreen() {
  return <p>Something went wrong.</p>;
}

function App({ hasError, isLoading }) {
  if (isLoading) return <LoadingScreen />;
  if (hasError) return <ErrorScreen />;

  return <p>Content Loaded!</p>;
}
Why this helps:
- Cleans up the main component
- Organizes logic into reusable UI blocks
- Makes testing and maintenance easier
Real-Life Uses of Conditional Rendering in Beginner Apps
Conditional rendering becomes powerful when applied to real scenarios inside beginner-friendly projects. Here are some common situations where these patterns make UI clean, predictable, and easy to manage.
1. Loading Screen
Beginner apps often fetch data from an API, and showing a loader keeps the UI clear while data arrives.
Example:
return (
  <div>
    {isLoading ? <p>Loading...</p> : <Content />}
  </div>
);
Use This When:
- Fetching API data
- Waiting for authentication
- Loading initial app state
2. Login/Logout UI
Conditional rendering helps display different UI based on whether the user is signed in.
Example:
return (
  <header>
    {isLoggedIn ? <button>Logout</button> : <button>Login</button>}
  </header>
);
Use This When:
- Building simple login systems
- Controlling user-only features
3. Showing Error vs Success UI
Displaying clear feedback helps improve user trust and experience.
Example:
return (
  <>
    {error && <p className="error">Something went wrong.</p>}
    {success && <p className="success">Action completed!</p>}
  </>
);
Use This When:
- Form submissions
- Payment confirmation
- API responses
4. Feature Toggles
Sometimes features are turned on/off using flags—great for beginners testing new UI sections.
Example:
return (
  <div>
    {enableNewUI && <NewDashboard />}
  </div>
);
Use This When:
- A/B testing
- Gradual rollout of new features
- Building MVPs
Comparison of conditional rendering in react: Which Pattern Should You Use?
Choosing the right conditional rendering pattern depends on how complex the UI logic is. This comparison table helps beginners understand what works best for different situations.
| Pattern | Simplicity | Readability | Best Use-Case |
|---|---|---|---|
| Ternary Operator | ⭐⭐⭐⭐ | ⭐⭐⭐ | Simple either/or UI decisions |
Logical AND (&&) | ⭐⭐⭐⭐ | ⭐⭐⭐⭐ | Showing optional UI without needing “else” |
| Guard Clauses | ⭐⭐⭐⭐ | ⭐⭐⭐⭐ | Avoiding nested conditions for cleaner components |
| Switch-Case | ⭐⭐⭐ | ⭐⭐⭐⭐ | Multiple UI states (loading, success, error, idle) |
| Enum-Based Rendering | ⭐⭐⭐ | ⭐⭐⭐⭐ | Managing state with predefined values |
| Component Extraction | ⭐⭐ | ⭐⭐⭐⭐⭐ | Large or repetitive conditional UI blocks |
| Render Props | ⭐⭐ | ⭐⭐⭐ | Reusable logic patterns across components |
Common Mistakes Beginners Make conditional rendering in react
Understanding conditional rendering is easier when you avoid these frequent errors:
1. Too Many Nested Ternaries
Beginners often chain ternaries inside JSX, making UI extremely difficult to read.
Fix: Use guard clauses, switch-case, or extract logic into components.
2. Mixing Business Logic with UI
Heavy calculations or API logic inside JSX creates confusion.
Fix: Move logic into functions or variables before the return statement.
3. Not Extracting Components
Large conditional blocks inside one component quickly get messy.
Fix: Create small components like <ErrorMessage /> or <LoadingScreen /> for clarity.
Conditional rendering in React: FAQ (Based on Search Intent)
1. Is conditional rendering hard for beginners?
No—once you understand how React re-renders based on state and props, conditional rendering becomes straightforward. The key is choosing simple patterns and avoiding nested logic.
2. Should I use ternary or if-else in React?
Use ternary for short UI decisions inside JSX.
Use if-else or guard clauses outside JSX when the logic gets longer or more complex.
What is the cleanest conditional rendering pattern?
For most beginner apps, guard clauses and component extraction produce the cleanest and most maintainable UI code.
3. Why is my UI not updating after condition changes?
This usually happens when:
- State is mutated directly instead of using
setStateoruseState - The condition is derived from stale state
- The update occurs outside React’s state lifecycle
Fixing state updates typically resolves the issue.
Conditional Rendering in React: Interview Questions Basics
- What are the common pitfalls to avoid when using conditional rendering in beginner apps?
Beginners often make the mistake of cluttering their components with multiple conditional statements, which can make the code hard to read and maintain. Instead, it’s better to use helper functions or switch/case statements for cleaner logic. - How does conditional rendering impact performance in React?
If not implemented efficiently, conditional rendering can lead to unnecessary re-renders, slowing down the application. Use techniques like memoization to enhance performance. - Can I use conditional rendering in other frameworks besides React?
Absolutely! Frameworks like Vue.js and Angular offer their own ways of implementing conditional rendering, such as Vue’s `v-if` and Angular’s `ngIf` directives. - How do I toggle between two components using conditional rendering?
You can toggle by setting a state variable and using a ternary operator or a short-circuit expression. For example:{showComponentA ? : } - What’s the advantage of using the logical `&&` operator for conditional rendering?
The logical `&&` operator is useful for conditionally including elements, simplifying syntax when you don’t need an else case. For example:{isLoading && } - What’s the best way to handle multiple conditional renderings in a single component?
It’s recommended to break down your logic into smaller, reusable components, or to use a separate function to return the appropriate JSX based on conditions. - How can conditional rendering be tested effectively in a unit test?
By using testing libraries like Jest, you can simulate various input conditions and check if the right components render. Utilize `toBeDefined()` or `not.toBeNull()` to verify component presence.
Discover our AI-powered js online compiler, where you can instantly write, run, and test your code. Our intelligent compiler simplifies your coding experience, offering real-time suggestions and debugging tips, streamlining your journey from coding novice to expert with ease. Explore it today and boost your coding skills!
Conclusion
Completing ‘Conditional Rendering Patterns for Beginner Apps’ empowers you to render efficiently and tackle challenges creatively in your projects. By mastering these patterns, you’ll gain confidence in your coding. Eager to expand your skills? Explore more programming languages with Newtum for comprehensive learning.
Edited and Compiled by
This article was compiled and edited by @rasikadeshpande, who has over 4 years of experience in writing. She’s passionate about helping beginners understand technical topics in a more interactive way.