Step into the realm of AWS EC2, a magical space for hosting and managing your applications. In this blog, we’ll unravel the basics of AWS EC2 and guide you through the seamless experience of connecting with WinSCP. So, get ready for a smooth ride as we delve into the amazing world of AWS EC2!
Prerequisites for Connecting AWS EC2 Instance with WinSCP:
Make sure you have the following setup before starting the process of connecting your AWS EC2 instance to WinSCP:
- AWS Account: Make sure you have a valid AWS account to access your EC2 instance.
- WinSCP Installed: If you haven’t already, install WinSCP on your local machine. You can follow our guide on “Installing WinSCP” for step-by-step instructions.
- Ubuntu Server in AWS: Ensure that you have successfully set up your Ubuntu Server on AWS. If not, refer to our comprehensive guide on “Setting Up Ubuntu Server in AWS – Step-by-Step” to get your server up and running.
Steps to Connect with WinSCP
1. Launch the WinSCP software.

2. The IP address of our EC2 instance will be our hostname. Login to our Amazon EC2 dashboard and take note of our instance’s IPv4 Public IP value.

3. Type “ubuntu” as the user name. This will be the default username for our instant access.
4. Click on the Advanced button, and select the option Authentication from the left menu panel.

5. Click on OK after looking through the private key file.
6. To proceed with logging onto the server, click Login.
7. A dialogue to add the host key to the cache will appear in WinSCP; select Yes.
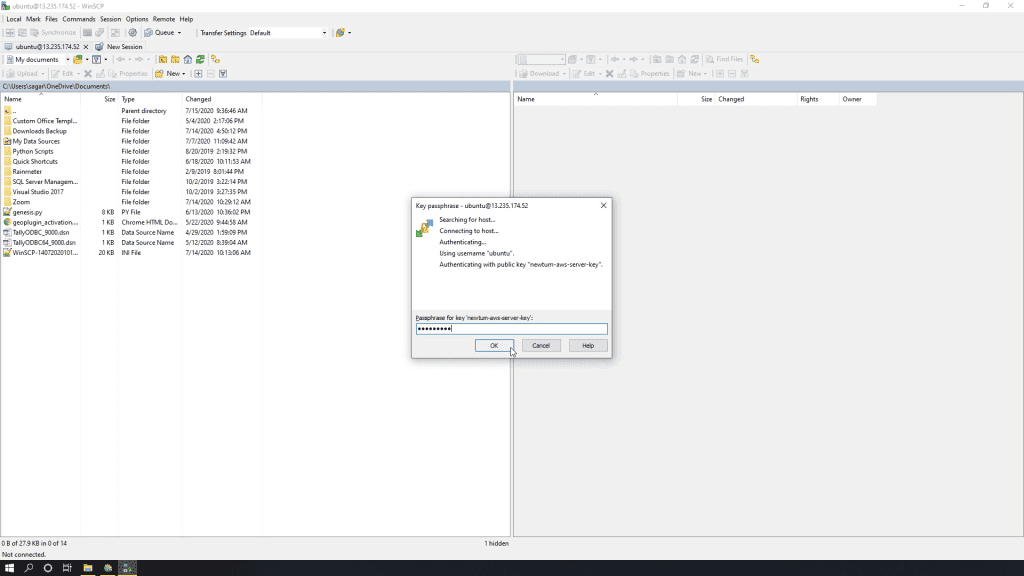
8. When prompted, enter the passphrase and select OK.

9. You’re connected now to EC2 server instance.
Connecting to your AWS EC2 instance using WinSCP is a breeze with our step-by-step guide. Enjoy a hassle-free file transfer experience with enhanced security. Now, managing your server files becomes as easy as drag-and-drop.


