In this guide, we’ll walk you through setting up your Ubuntu Server, the powerhouse operating system that’s user-friendly and versatile. But why stop there? We’ve chosen AWS (Amazon Web Services) as your hosting playground for Ubuntu Server. Why? Because AWS offers a seamless, reliable, and scalable environment, perfect for our course on create a currency like ETH and BNB. Let’s dive in and make your server dreams a reality!
Prerequisites
Before diving into the setup process, there are a few things we need to have in place. First and foremost, you’ll need an AWS account. If you don’t have one yet, no worries—we’ll guide you through creating it step by step. Additionally, two essential tools, WinSCP and PuTTY, will make the connection process smoother. Lastly, we’ll provide you with a list of prerequisites specific to setting up Ubuntu Server in AWS, ensuring you have everything you need before starting the journey.
Dive into Installing WinSCP step-by-step Guide Now!
Steps to Setup Ubuntu Server
Setting Up Ubuntu Server on AWS: A Simple Guide
1. Create an AWS Account:
– Visit Amazon Web Services.
– Click “Create an AWS Account” in the top right corner.

– Fill in your account information, verify your email, and add payment details.
– Choose “Personal” as the account type, opt for the Free Basic Plan, and personalize your experience.
– Confirm your identity via mobile verification.
– Complete the registration, and use the confirmation email to access your AWS account.
Steps to Create an EC2 Instance:
1. Login and Navigate to EC2:
– Go to AWS, sign in, and choose “Root user.”
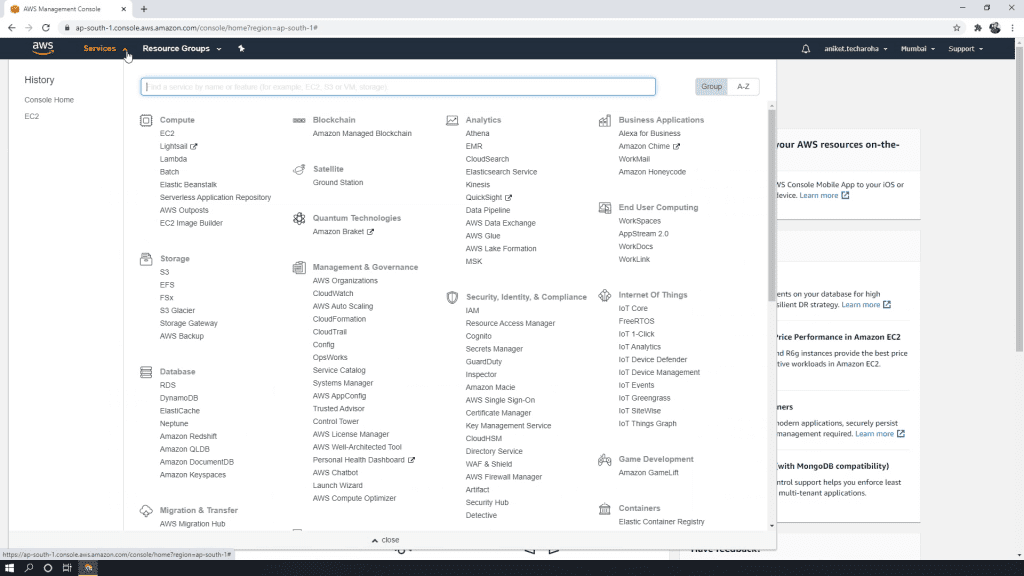
– Click on the “Services” menu, then select “EC2” under Compute.
– On the EC2 Dashboard, choose your preferred region (e.g., Asia Pacific – Mumbai).
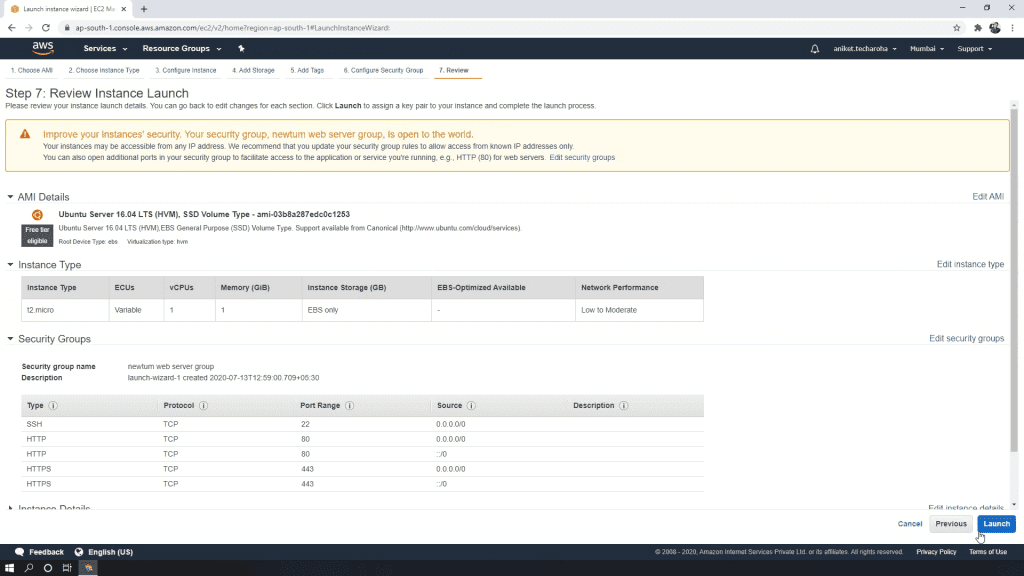
2. Launch Your Instance:
– Click “Launch Instance.”
– Follow the configuration steps:
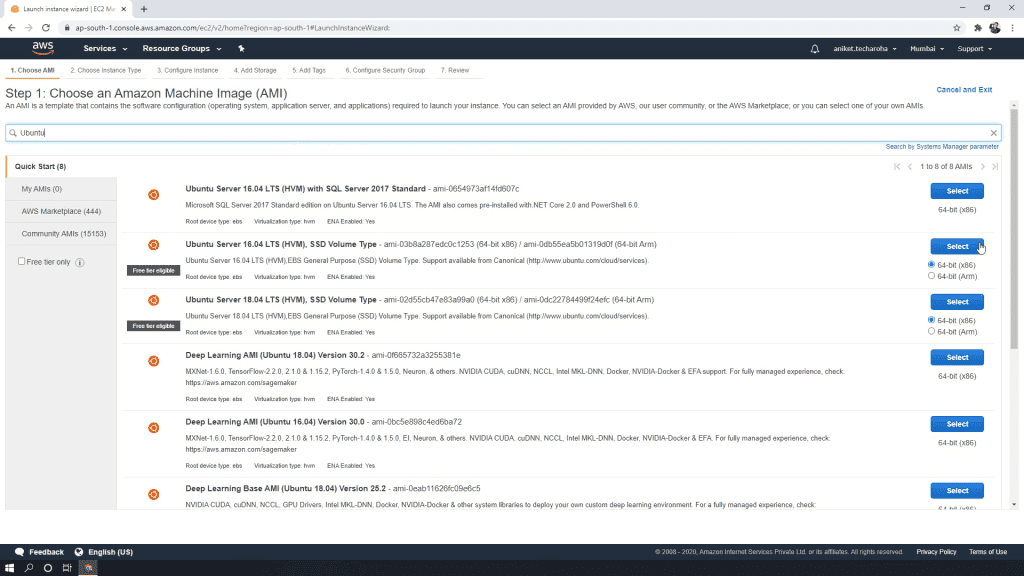
– Choose an Amazon Machine Image (AMI) by typing “Ubuntu” and selecting the 18.04 LTS version.
– Choose a t2.micro instance type (eligible for free tier).
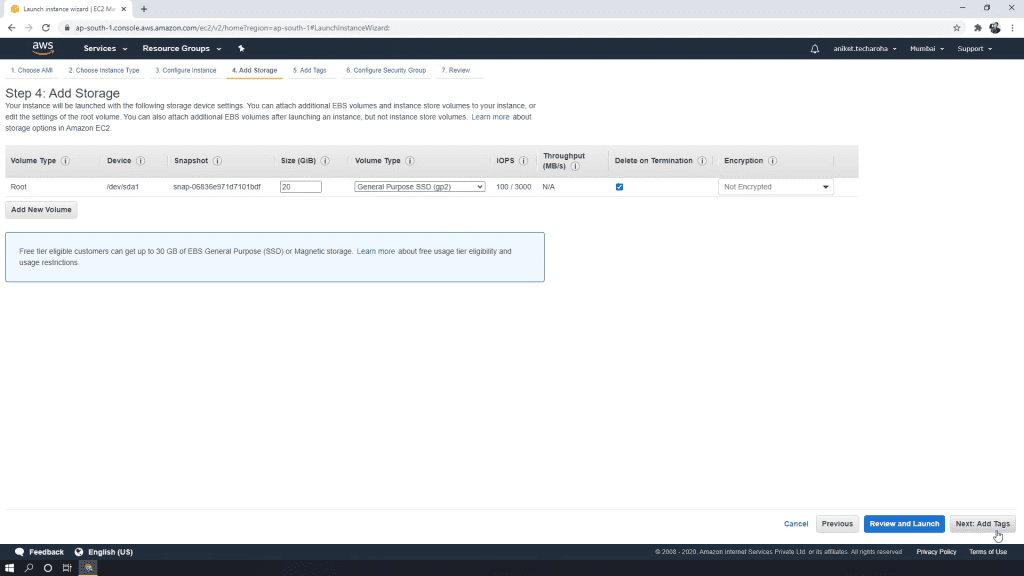
– Keep default options for instance details. Add Storage, you can mention the size of your virtual disk volume. Mention it as 20GB in the Size (GiB) textbox column.
– Configure security groups with rules for SSH, HTTP, and HTTPS.
– Review the instance launch and create a new key pair name.
3. Elastic IP Allocation:
– Click on “Elastic IPs” under Network & Security.
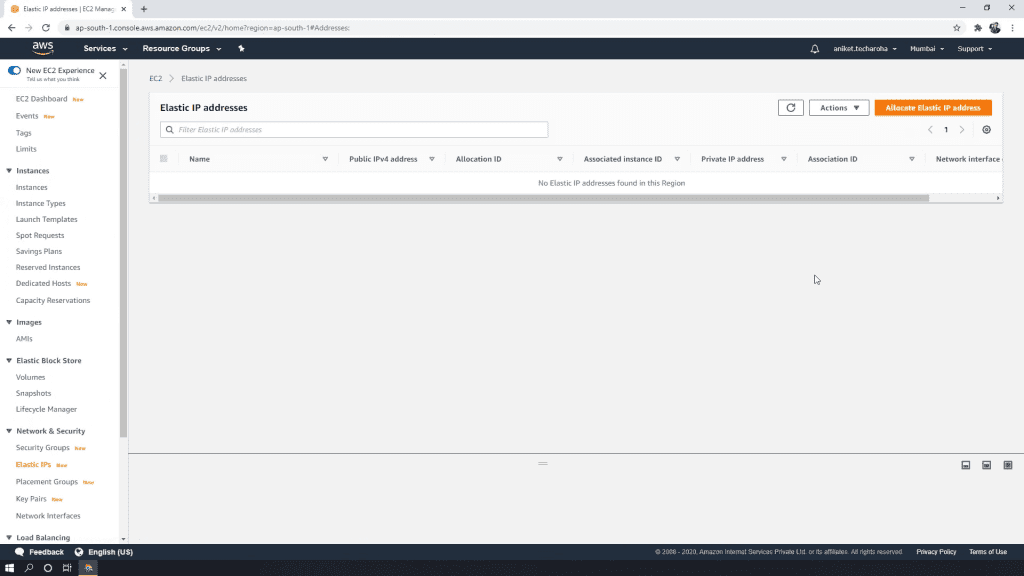
– Allocate a new Elastic IP address.
– Associate it with your instance to ensure a static IP for easy WinSCP and PuTTY connections.
Generate PPK File for WinSCP and PuTTY:
1. Convert PEM to PPK:
– Run PuTTYgen executable.
– Choose “Import Key” in the “Conversions” menu.
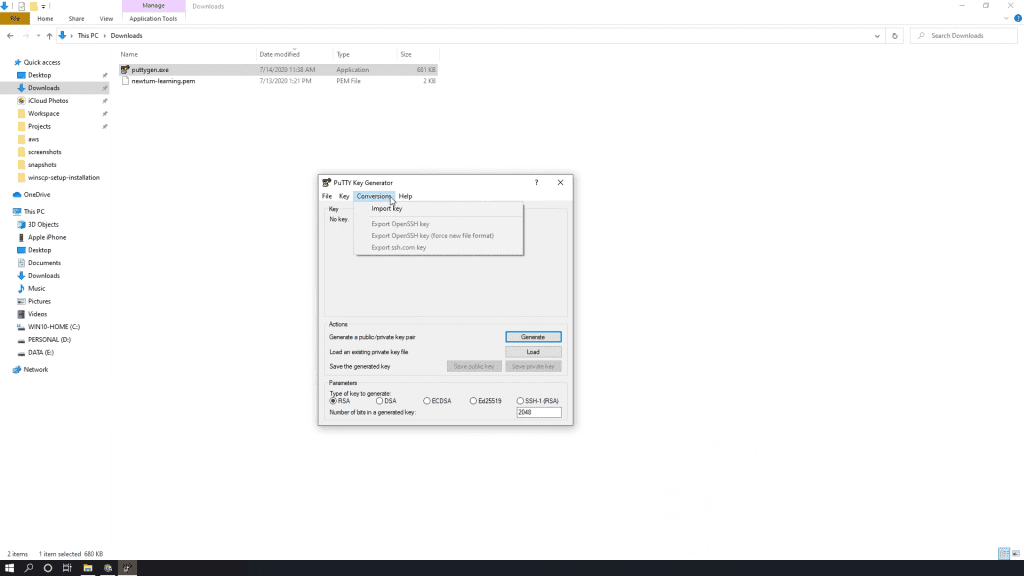
– Select the downloaded pem file.
– Set key details (e.g., “newtum-aws-server-key”).
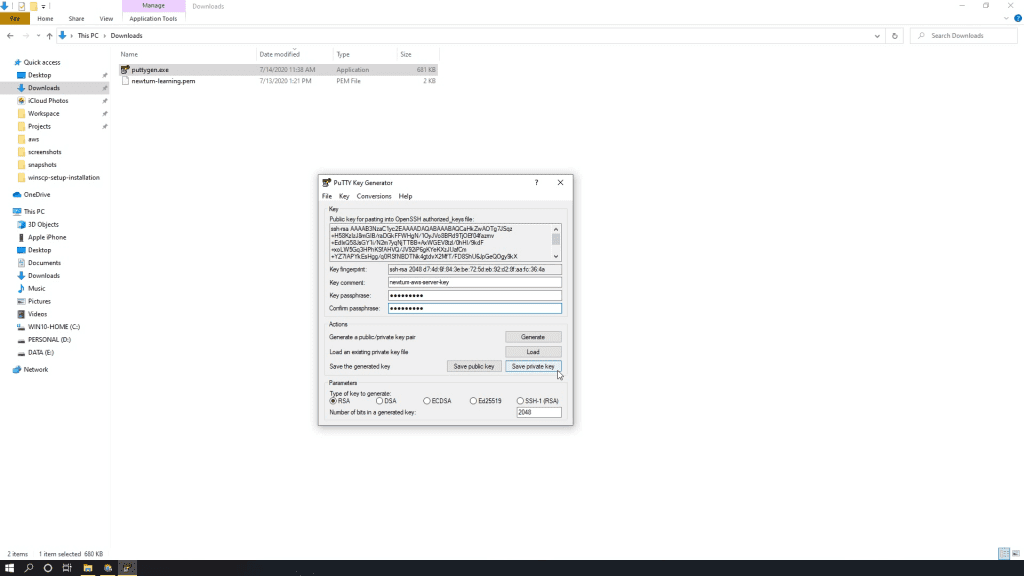
– Set a passphrase for added security.
– Save the generated ppk file as “newtum-learning-private-key.ppk.”
Setting up Ubuntu Server on AWS is a straightforward process. This guide ensures a smooth journey, from creating your AWS account to launching an EC2 instance and securing it with Elastic IP. With our step-by-step instructions, hosting your Ubuntu Server becomes a hassle-free experience, unlocking endless possibilities on AWS.