Vultr is a popular cloud hosting provider that offers virtual server instances at competitive prices. To get the most out of your Vultr server, it’s crucial to know how to connect to it securely. In this blog post, we will guide you through the process of connecting to your Vultr server using WinSCP and Putty, two widely used Windows applications.
Before you begin, make sure you have:
1. Installed WinSCP and Putty on your local machine. If you haven’t done this yet, refer to our previous blog on Installation of WinSCP and Putty to set up these tools.
2. Created a Vultr Server instance. If you haven’t set up a server on Vultr, check out our guide on Setting Up a Server on Vultr.
Connecting with WinSCP
1. Open the WinSCP application.
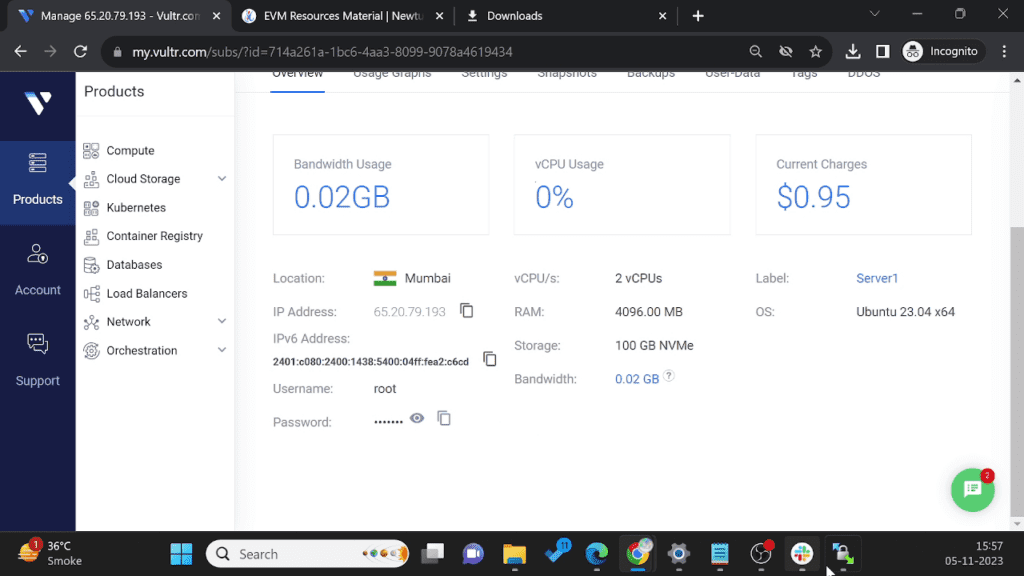
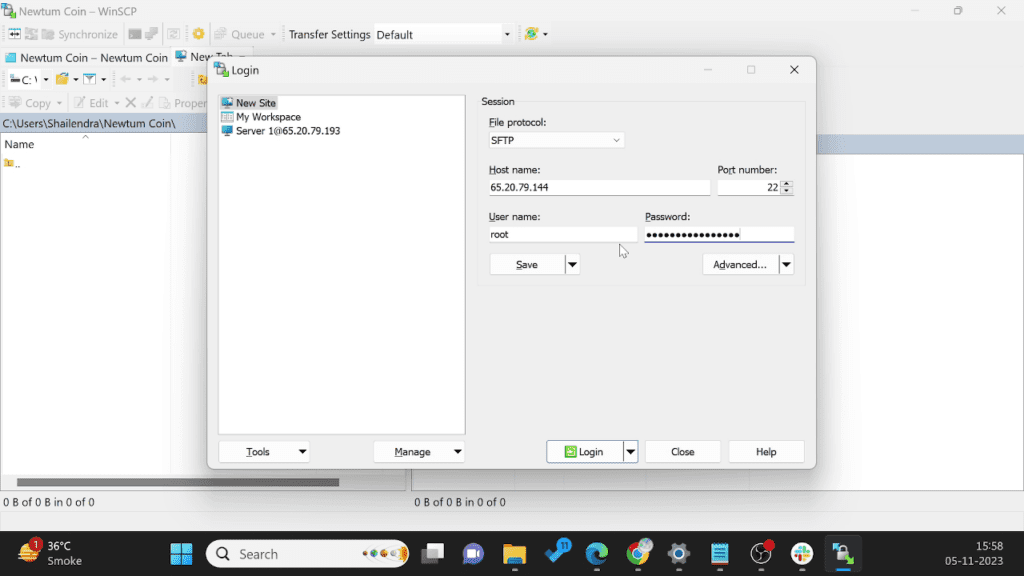
2. In the “Hostname” field, enter the IP address of your Vultr Server instance. You can find this IP address by navigating to the “Products” menu in your Vultr dashboard and clicking on your server instance’s label name to view its details.
3. You can find the IP address in your Vultr dashboard. Go to the Vultr Servers list by clicking on the Products menu from the sidebar. You will see our instance in the list. Click on the server instance label name to view server details.
4. In WinSCP, enter “root” as the username. This is the default username for accessing your Vultr server.
5. Enter your server’s password in the WinSCP password textbox.
6. Click “Login” to initiate the connection.
7. WinSCP may prompt you to add the host key to the cache. Click “Yes” to continue.
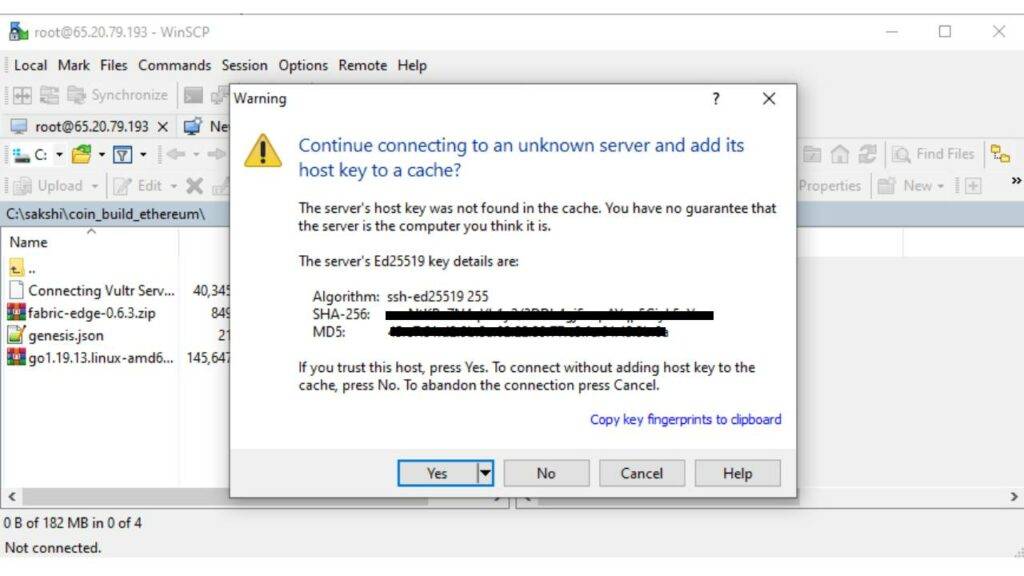
8. Congratulations! You are now connected to your Vultr server instance via WinSCP.
Connecting with Putty
1. First, ensure that you are already connected to your Vultr server instance using WinSCP.
2. In WinSCP, go to the “Commands” menu and select the “Open in Putty” option. Alternatively, you can use the keyboard shortcut “Ctrl + P.”
3. Putty will open in a new window and prompt you to enter a passphrase. Hit “Enter” to proceed.
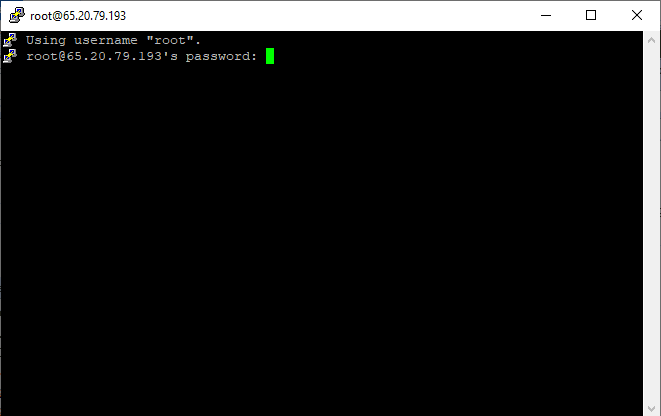
4. You are now connected to your Vultr server instance’s command line via Putty.
With these steps, you can seamlessly connect to your Vultr Server instance using both WinSCP for file transfers and Putty for command-line access.