Welcome to our blog series, designed to complement our course on making cryptocurrency similar to ETH and BNB. We’re here to help you navigate the world of creating digital currency, breaking it down into easy-to-follow steps and sharing useful tips. We’ll guide you on setting up an Ubuntu Server in Vultr, an important part of making your cryptocurrency journey safe and smooth. So, let’s dive in together and explore the exciting steps of bringing your own digital currency to life!
Prerequisites
Before you start setting up your Ubuntu Server on Vultr, there are a few things you need to do. First, make sure you have WinSCP and PuTTY installed. WinSCP helps you move files around easily, and PuTTY lets you talk to the server directly.
Dive into Installing WinSCP step-by-step Guide Now!
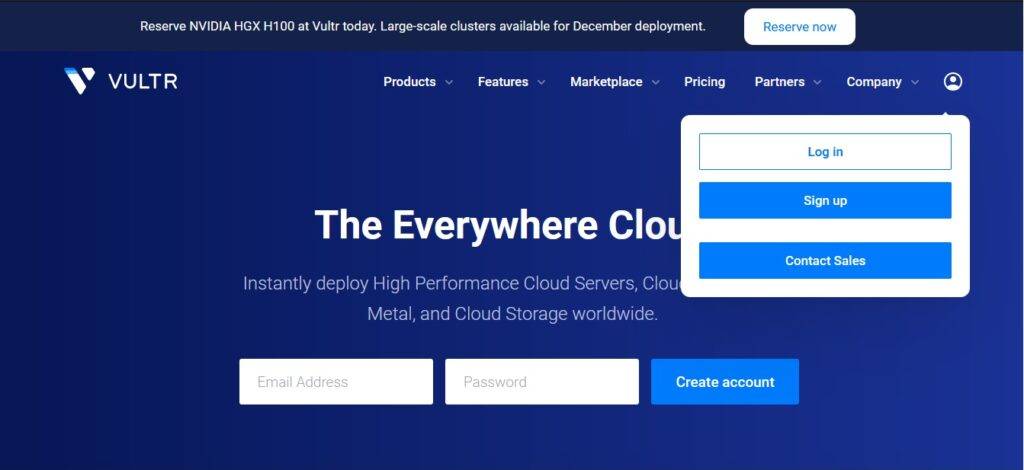
Sign Up for a Vultr Account
Signing up for a Vultr account is a straightforward process. Follow these steps to create your Vultr account:
1. Visit vultr’s Website:
Open your web browser and go to Vultr’s website by typing or clicking on this link: https://www.vultr.com/.
2. Start the Registration Process: On the Vultr homepage, you’ll typically find a “Sign Up” button. Click on it to begin the registration process.
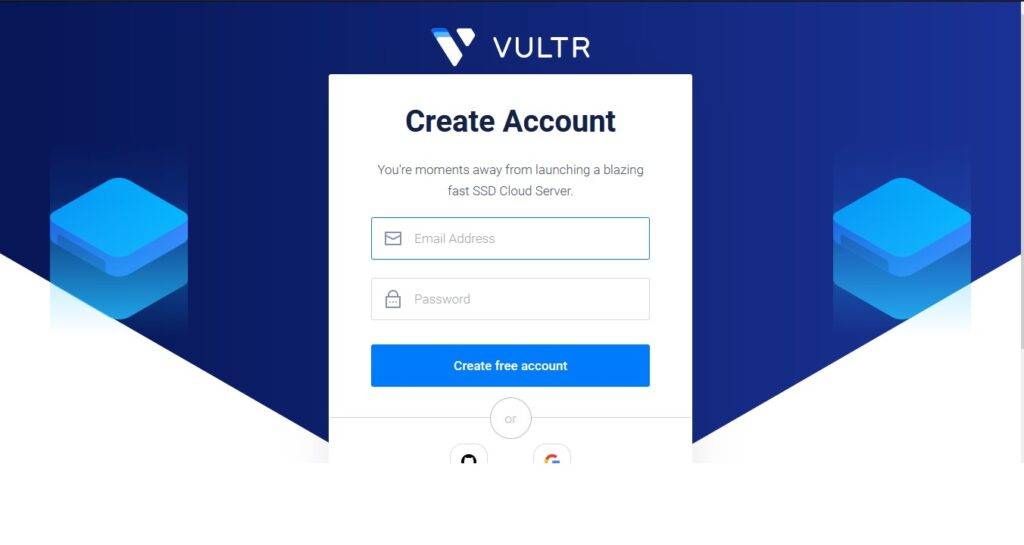
3. Provide Your Email and Password:
– Enter a valid email address that you want to associate with your Vultr account.
– Choose a strong and secure password for your account. Ensure that it meets the password requirements specified by Vultr.
4. Click “Create Free Account”: After completing the steps above, click the “Create Free Account” button to submit your registration information.

5. Billing Information: If you plan to use Vultr’s paid services, you’ll need to add your billing information. This typically includes a credit card or PayPal account. Vultr offers a prepaid system, so you can add funds to your account balance.
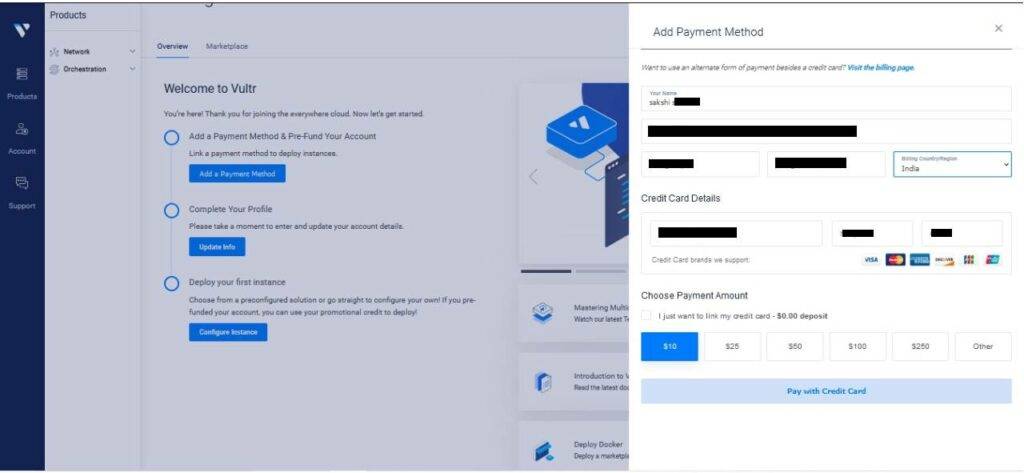
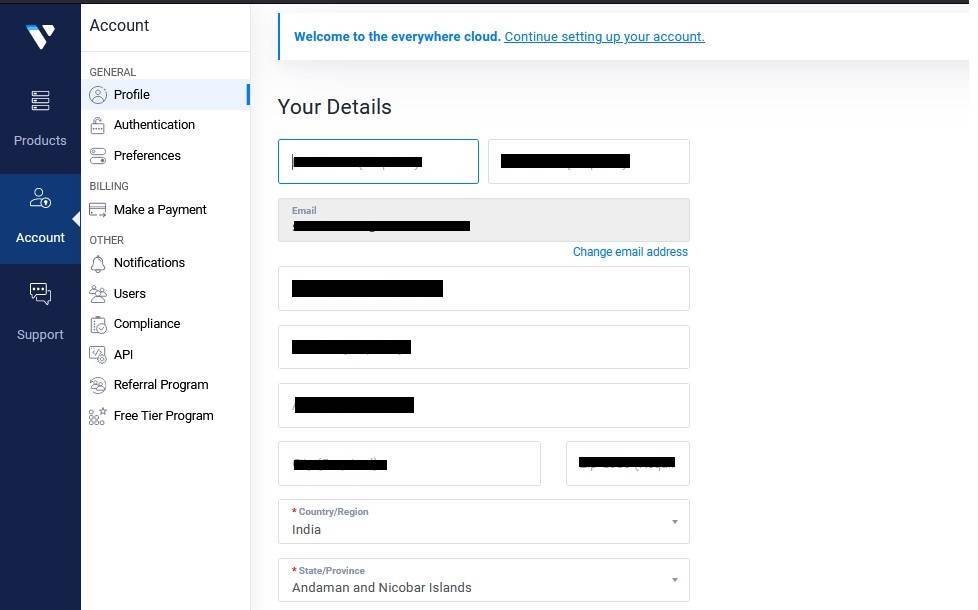
6. Complete Your Profile: Vultr will ask you to complete your profile by providing additional information such as your name, phone number, and other account details. Fill in this information as required.
11. Dashboard Access: After completing these steps, you’ll have access to your Vultr account dashboard, where you can create and manage servers, view billing information, and access other features and settings.
How to Log In to Your Vultr Account
Logging in to your Vultr account is a simple process that allows you to access your cloud servers and manage your hosting resources. Follow these steps to log in to your Vultr account:
1. Visit Vultr’s Website
Open your web browser and go to Vultr’s official website by typing or clicking on this link: https://www.vultr.com/
2. Locate the “Login” Button
On the Vultr homepage, look for the “Login” button. It’s typically located in the top-right corner of the website.
3. Enter Your Email Address and Password
Click the “Login” button to proceed. You will be taken to the login page. Here, you need to provide the following information:
– Enter the email address associated with your Vultr account in the “Email” or “Username” field.
– In the “Password” field, enter your secure password.
4. Click “Login”
After entering your email address and password, and completing any CAPTCHA challenges, click the “Login” button to log in to your Vultr account.
5. Access Your Account Dashboard
Upon successful login, you will be directed to your Vultr account dashboard. From here, you can manage your cloud servers, view billing information, and access various settings and features.
You have now successfully logged in to your Vultr account and can start managing your cloud hosting resources, creating and configuring servers, and using Vultr’s services for your hosting needs. Remember to keep your login credentials and any 2FA codes secure to protect your account.
Deploying Ubuntu Server on Vultr
Create a New Server
Follow these steps to set up a new server on Vultr:
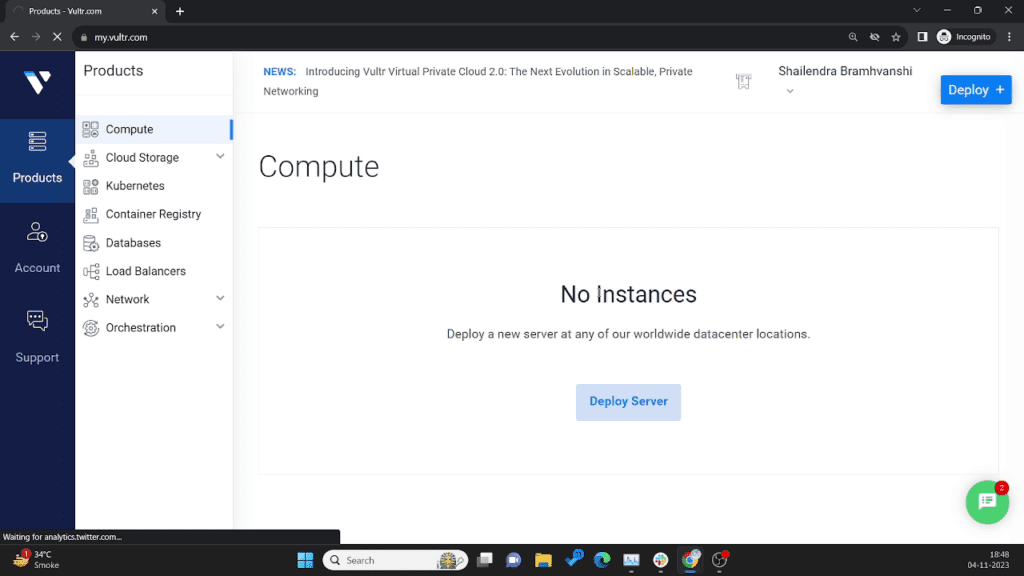
1. Once you’re logged in, you’ll be on your Vultr account dashboard. From here, click on the “Products” tab in the top menu. This is where you manage and create your cloud servers.
2. In the Servers section, you should see a button that says “Add Server” or “Deploy New Server.” Click on this button to initiate the process of creating a new server.
3. Vultr offers a range of server types, each with different CPU, RAM, and storage specifications. Select Cloud Compute.
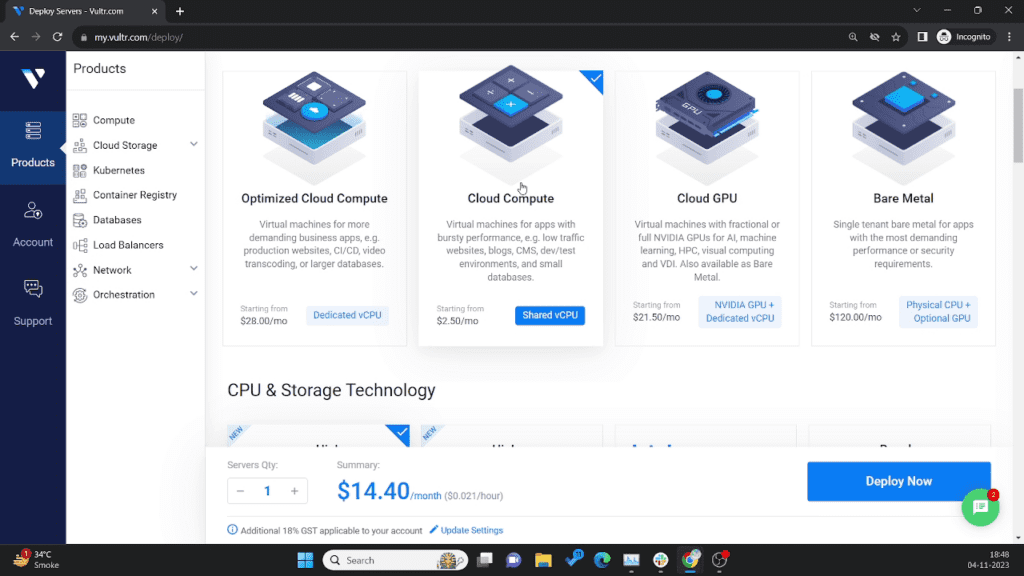
4. You’ll need to choose CPU & Storage Technology. Vultr provides a variety of options,
Select intel(High performance).

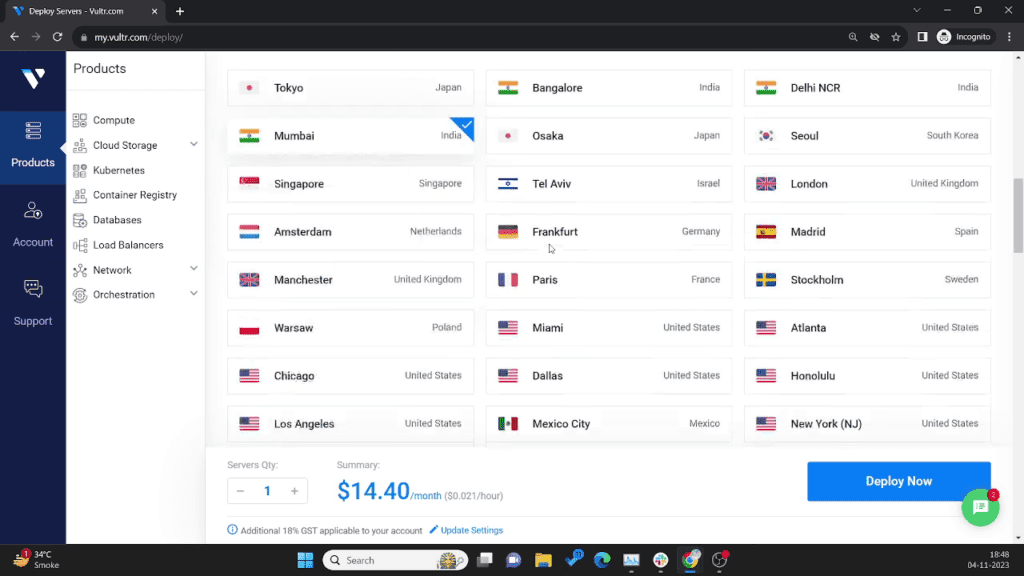
5. Also, In the next section Server Location, choose a server location nearest to your current location. Here, I have selected Mumbai, Singapore.
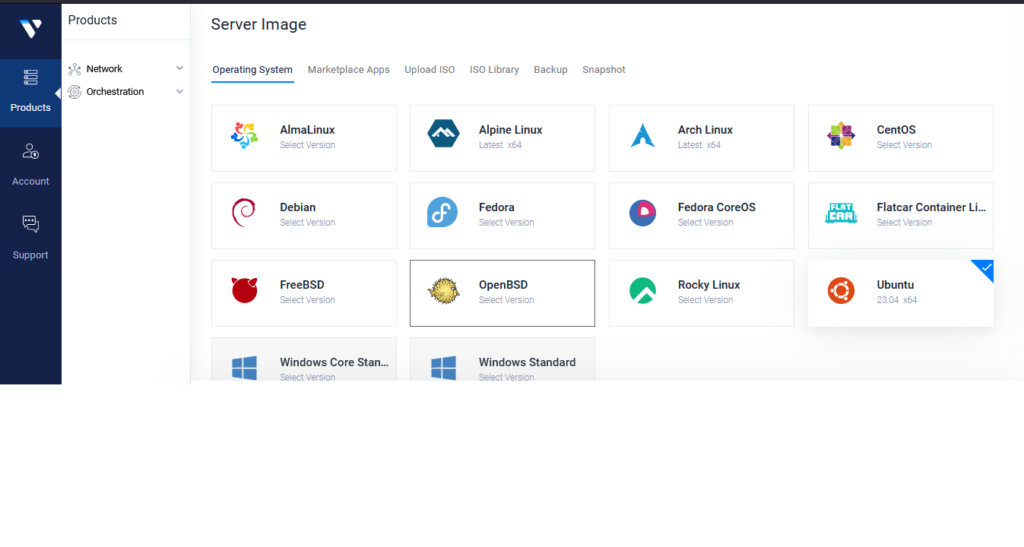
6. You’ll need to choose an operating system for your server. Vultr provides a variety of options, including popular choices like Ubuntu, CentOS, Debian, and Windows. Select Ubuntu (23.04 x64) as an Operating system.
7. Select the server size providing 2 vCPUs and 4 GB Memory.
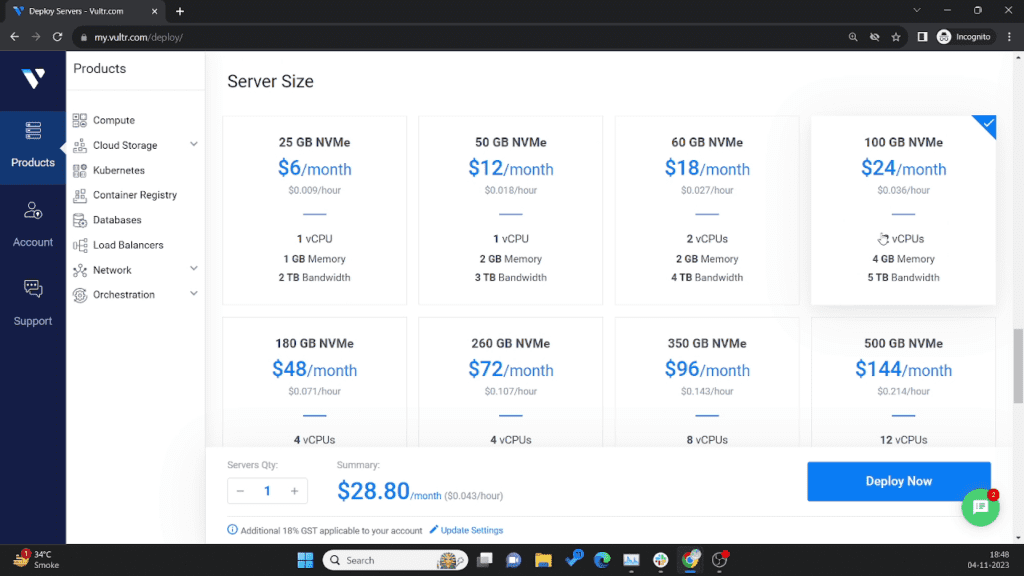
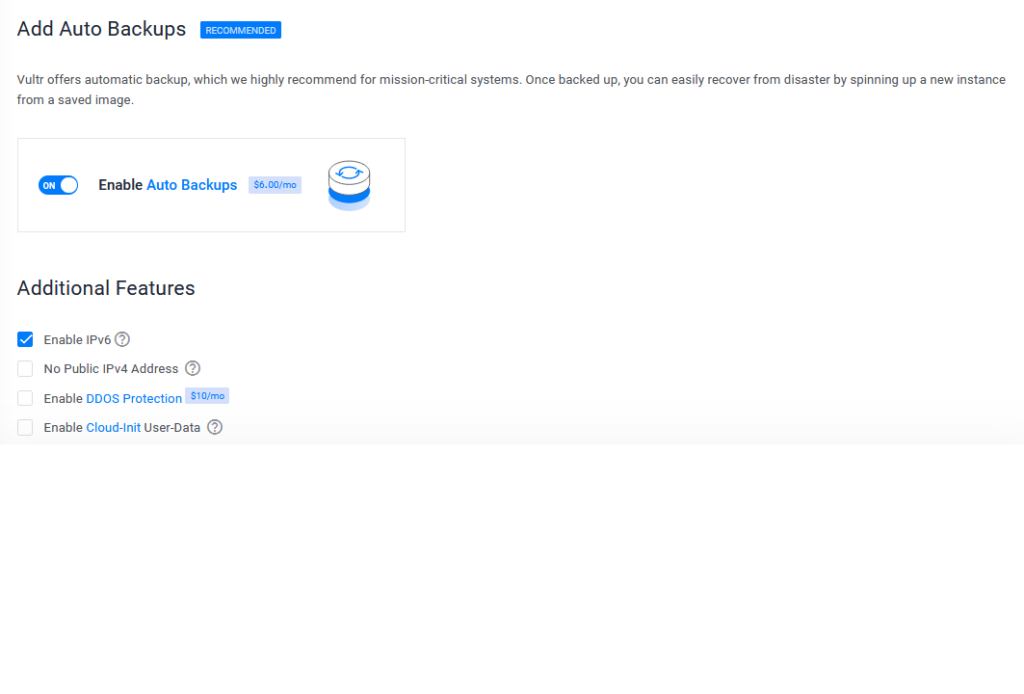
8. Vultr offers optional features like backups and block storage that you can add to enhance your server’s functionality and reliability. Consider your specific needs and budget when deciding which features to include or keep it default.
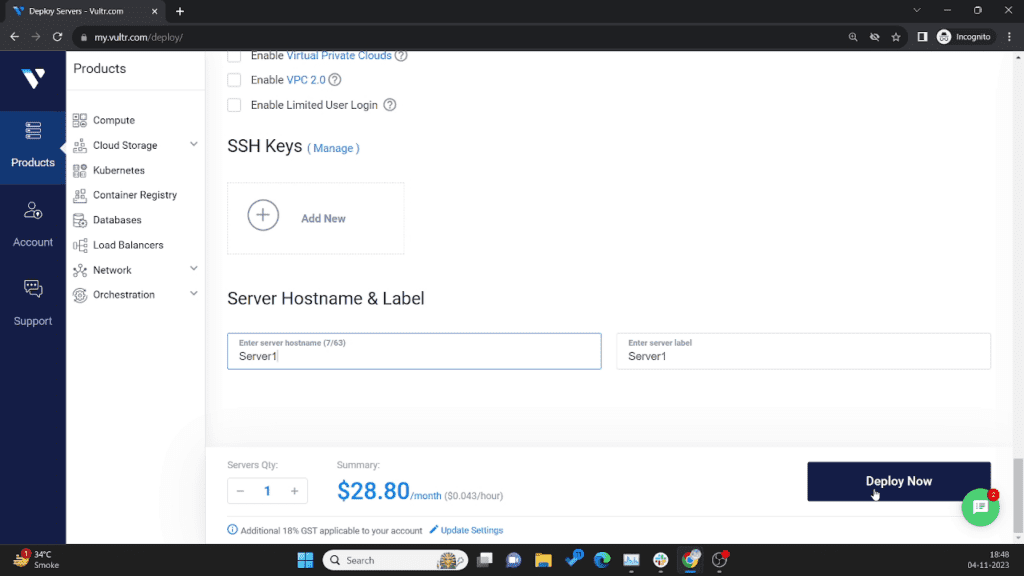
9. For secure remote access to your server, you can set up SSH (Secure Shell) authentication by adding your SSH public key. If you are not familiar with SSH, Vultr also provides an option to set a basic password for access.
10. You can set your server hostname and label, in the section Server Hostname & Label.
11. After configuring all the server settings, click the “Deploy Now” button. Vultr will start provisioning your server with the selected settings. The process usually takes just a few minutes.
Access Your Server
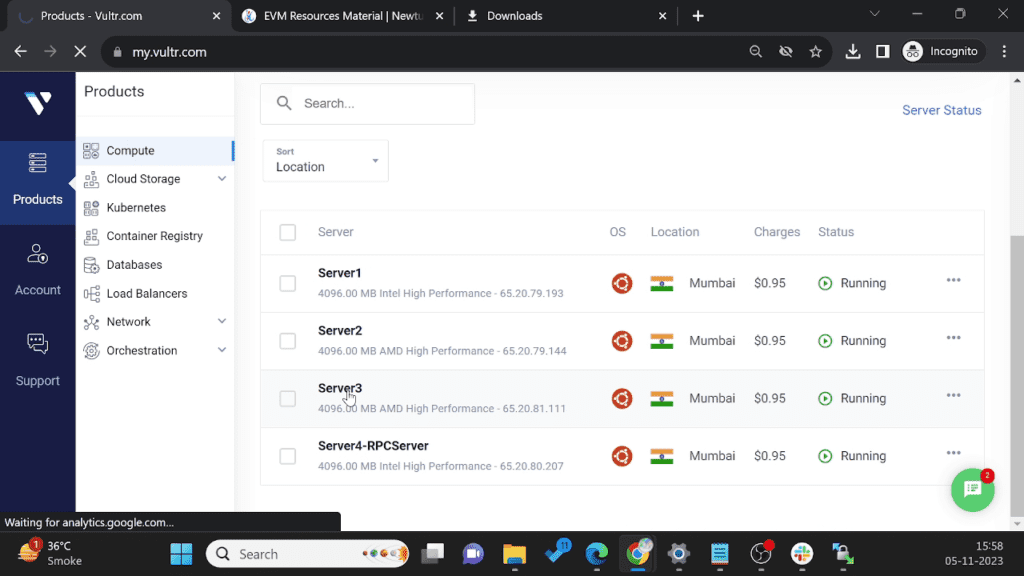
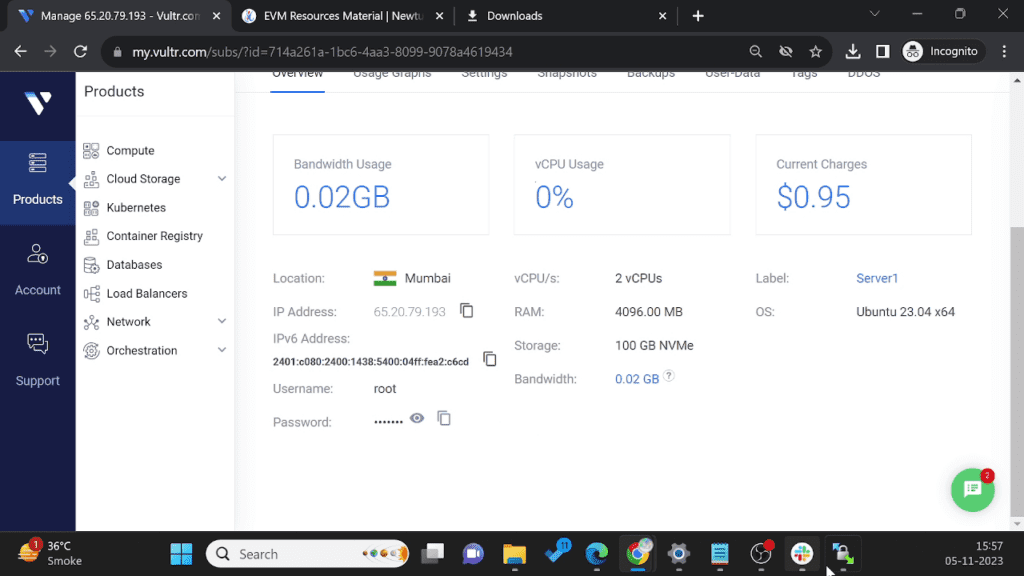
You can find the IP address in your Vultr dashboard. Go to the Vultr Servers list by clicking on the Products menu from the sidebar. You will see our instance in the list. Click on the server instance label name to view server details.
Setting up a server in Vultr is a simple process that provides computing resources for projects or businesses. Follow the guide to set up Ubuntu Server, a crucial step in cryptocurrency generation. Regular monitoring and maintenance are essential for optimal performance and security. Stay tuned for more blog support.