Welcome to the world of Vultr Linux Servers, where the magic of hosting and managing your applications comes to life! Vultr offers a powerful and flexible hosting solution, but to truly unleash its potential, we need to talk about WinSCP. Imagine it as your trusty sidekick, simplifying the way you handle files on your server. In this blog, we’ll take a stroll through the basics of Vultr Linux Servers. So let’s dive in and explore the world of Vultr Linux Servers together!
Prerequisites
Make sure you have everything you need before we go into the specifics of connecting your Vultr Linux Server using WinSCP. Initially, you will want a running server instance and an active Vultr account. If you haven’t set that up yet, check out our guide on “Setup Ubuntu Server in Vultr – Step-by-Step Guide” for an easy walkthrough.
Now, for the tools. You should use WinSCP for server setup, but if it’s not on your computer now, don’t worry! We’ve got you covered with our step-by-step guide on “Installing WinSCP.” Similarly, we recommend having PuTTY installed for the connection process. If you’re new to PuTTY, check out our guide on “Installing PuTTY step-by-step.” These guides are here to hold your hand through the installation journey, making sure you’re all set to connect your Vultr Linux Server with WinSCP effortlessly.
Connecting with WinSCP
Connecting your Vultr Linux Server with WinSCP may sound technical, but fear not—we’ve broken it down into easy steps for you!
1. Open WinSCP:
Launch the WinSCP application on your computer. It’s like opening the door to your server.
2. Find Your Server’s IP Address:
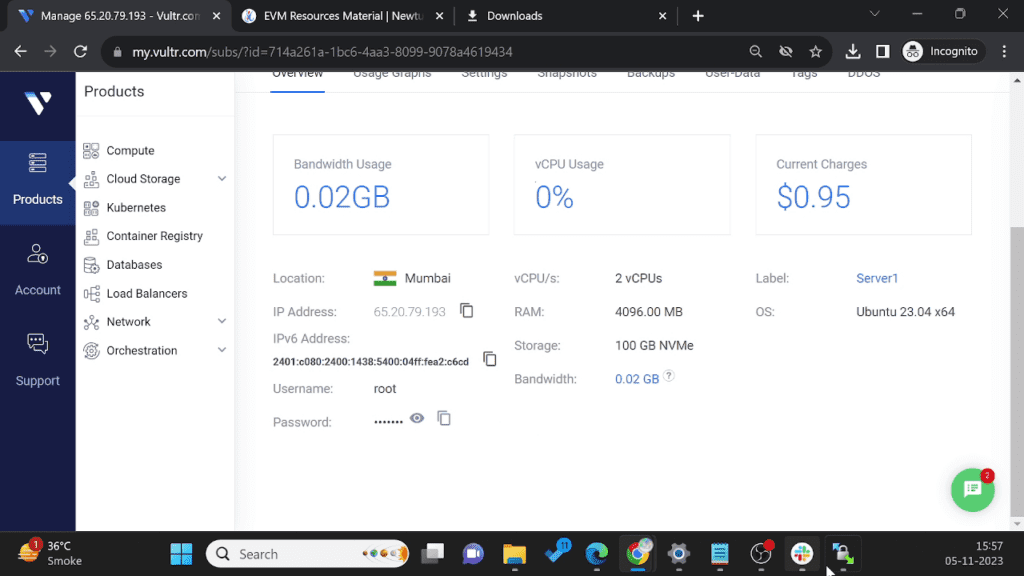
Go to your Vultr dashboard and click on the “Products” menu. Find your server instance by its label name. Click on it to view the server details. Look for the IP address—it’s like your server’s home address.
3. Enter IP Address in WinSCP:
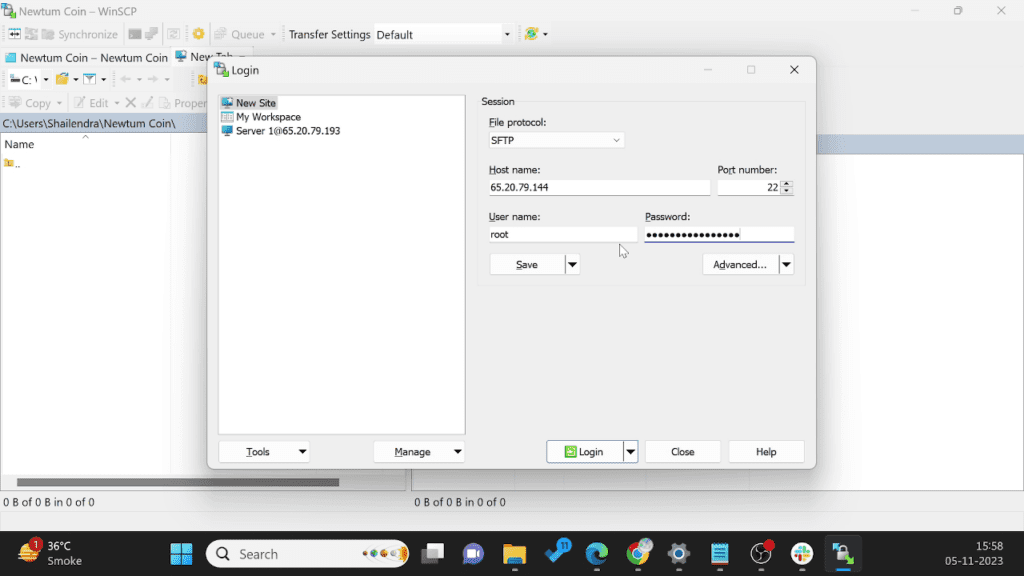
Back in WinSCP, in the “Hostname” field, type in the IP address you just found. It’s like putting your server’s address in your GPS.
4. Username and Password:
For the username, type “root.” It’s like your secret handshake to access the server. Enter your server’s password—this is your golden key.
5. Click “Login”:
Click “Login” and you’re done! It’s as simple as turning the key in your server’s door to begin the connection.
6. Host Key Prompt:
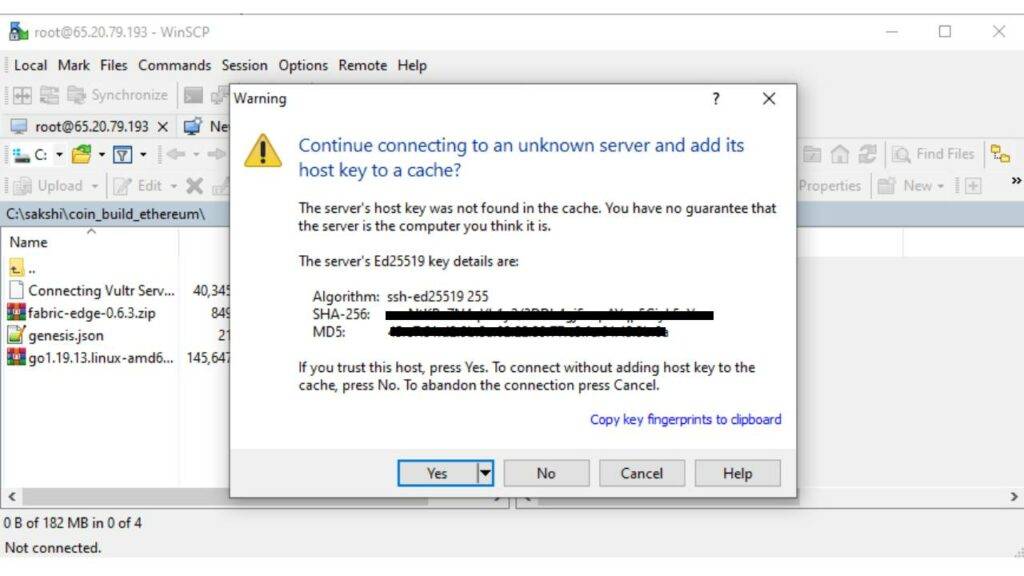
WinSCP might ask to add the host key to the cache. Just click “Yes”—it’s like confirming you trust the connection.
You’re in! You’ve successfully connected to your Vultr server using WinSCP. It’s like stepping into your server’s living room. Explore and manage your files with ease. You did it!
Connecting your Vultr Linux Server with WinSCP enhances file management, making it user-friendly and efficient. This guide simplifies the process, ensuring a seamless connection and empowering you to manage your server with ease.